

Lots of the SBCs have header pins for UART which allow for debugging and console access to the OS once booted.
SBCs have a habit of displaying nothing on screen if they cant successfully boot the OS. Some of the latest batch of “zero” and “nano” type boards don’t even have video outputs so without UART you are stuck waiting for it to boot and hoping it picks up an IP address you can find in DHCP.
So UART is great for debugging and playing with the OS when you don’t have networking set up or a monitor attached but its not always handy to be tethered to an FTDI/CP2102/CH340G adaptor – especially if the board is tucked out of the way and likely to be needing a fair bit of attention.
Well, that’s where ESP-link comes in.
For the cost of an ESP8266 of one form or another and a few mins of your time to flash the firmware, you get a 3.3v (5v compatible) WiFi serial adaptor with some pretty neat built in features. Like seriously useful. This is one of those projects that make me really grateful that there are people who spend the time making polished firmware like this available completely free to use for enthusiast like us.
What can it do?
The full list of features can be found on the github page, but to highlight my favourite parts:
- Web based serial console
- Transparent serial bridge (Eg if you still want to use PuTTY)
- WiFi connection management
For me, the web based console is the killer feature. Its pretty handy to be able to point your browser at the ESPs IP address and get the following:
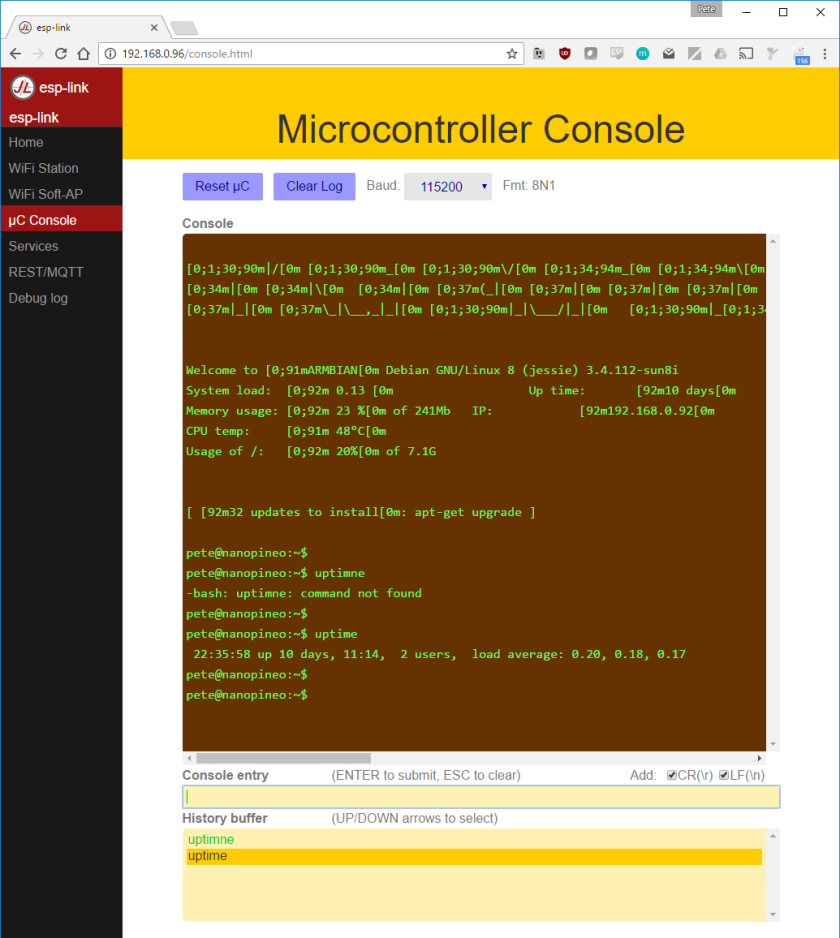
You’ll notice a few things from this.Firstly, not everything comes out looking pretty. If you’re familiar with Armbian, you’ll know its got a nice login script that has the board name in coloured ASCII art and some stats. As you can see from this image, these don’t display very well on here.
Secondly, enter seems to send twice. Not sure why.
Thirdly, the history buffer keeps everything there until it drops off the end. Including passwords.Anyone watching over your shoulder will be able to see everything you just typed in plain text.
Fourthly, I’m bad at typing.
All of these issues have not really been a problem for me, but I can foresee issues there – for example, you really don’t want to be double tapping enter when running through setup scripts! The transparent serial port is more reliable for this and I haven’t seen any of these issues when using it.
WiFi setup
I don’t want to write a novel here so I’m going to write a separate flashing and hookup guide I think, but I do want to also mention the handy WiFi set up routine.
When you first fire up the device, it doesn’t know your WiFi details. So how do you connect? Well, any time it boots and is unable to connect to WiFi (either because it is unconfigured, or because it cant find the previously configured SSID) it sets up as an access point which you can connect to using a phone or laptop/PCs wifi card. You can then navigate to the ESP-link page. You can either use it just like that, or use the built in WiFi scanner to find and join your regular WiFi network…
Handy!
